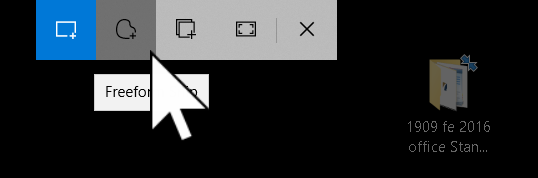
Snip Tool
The Snip tool lets you take a picture of any part of your screen, which you can then paste into an email or document or anyplace else you can paste a picture. To copy the whole screen, click and drag your mouse pointer from corner to corner.
Clip pictures, coupons, homework, anything you want with one click and a drag.
Quick Demo
More About Snip Tool…
Play video
Coming Soon.
What the Snip Tool does
With Windows:
You can use Snip to copy
- Any rectangular portion of the screen
- Any irregular shape cutout of the screen
- Any window on screen
- The whole screen.
When you click on snip it is ready to copy any rectangle, but at the top of the screen you will see a tool option – allowing you to copy any of the above.
Point to the tools and wait a second to see which tool symbol is for what function.
On the Mac:
The Snip Tool just allows you to copy a rectangle.
- To copy a window – drag from one corner to the opposite corner of the window
- To copy the whole screen – drag from one corner to the opposite corner of the screen.
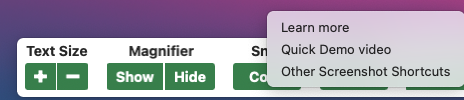
Other screen capture and recording options on the Mac
On the Mac there are keyboard shortcuts that allow you to:
- Copy the whole screen
- Take clips or whole screen pictures
- Do recordings (movies) of your screen, including audio or narration if you want.
To discover the shortcuts – right-click on the Snip button and choose “Other Screenshot Shortcuts”.
Screen recording on the PC
Here are two ways to do a screen recording on the PC:
Method 1: Using Game Bar
- Enable Game Bar:
- go to Start > Settings > Gaming
- Then toggle on Record game clips, screenshots, and broadcast using Game Bar.
- Next, press Windows+G and click the Record button in the Capture widget.
Method 2: Using Powerpoint
- Create a PowerPoint. A new blank document is fine.
- Go to Insert > Screen Recording.
Select an area on the Windows desktop and select Record.